

A Design Journey: Taking my Bathroom from Gloomy to Glam

The Space
As my fellow homeowners are aware, a house is never considered “done.” No matter how long you’ve lived in your home, there will always be another project that you decide you want to tackle. For me, my current and ongoing project is my upstairs bathroom.
My traditional Tudor style home was built in 1936. A few characteristics of Tudor style homes include pitched roofs, elaborate chimneys, embellished doorways, decorative half-timbering, and stucco.
The upstairs bathroom is a unique space that screams Tudor style. It features a curved doorway, wooden doors with crystal knobs, and a curved ceiling with, you guessed it, stucco. The bathroom also features a vintage crystal lighting fixture, a vanity cut out, and that classic black and white tile flooring.


Although I find (some) of these design elements to be charming, It’s definitely time for an upgrade. This room has a ton of potential. Usually, I lean towards simple and modern décor and style, but the existing elements of the room exude so much natural glamour that I decided to go with a modern glam style. If you’re itching to do something different in your decor, the upstairs bathroom is the perfect place to do it.
What is glam style?
Glam dates back to the golden age of the 1930’s, which is extremely fitting for my 1936 Tudor. Glam is a feminine, lavish, and over-the-top interior design style complete with marble, faux fur, velvet, mirrored accents, animal prints, and vintage rugs. Basically, any element considered to be a little “extra.” Even with all of these over-the-top elements, they tend to come together quite nicely if done correctly.
One of the easiest ways to achieve a glam look in any room is by mixing metallics (usually gold) with other accent wall colors. For my bathroom in particular, I chose a dark teal, terra cotta, and gold color palette. Dark walls are an easy way to add drama to a room.
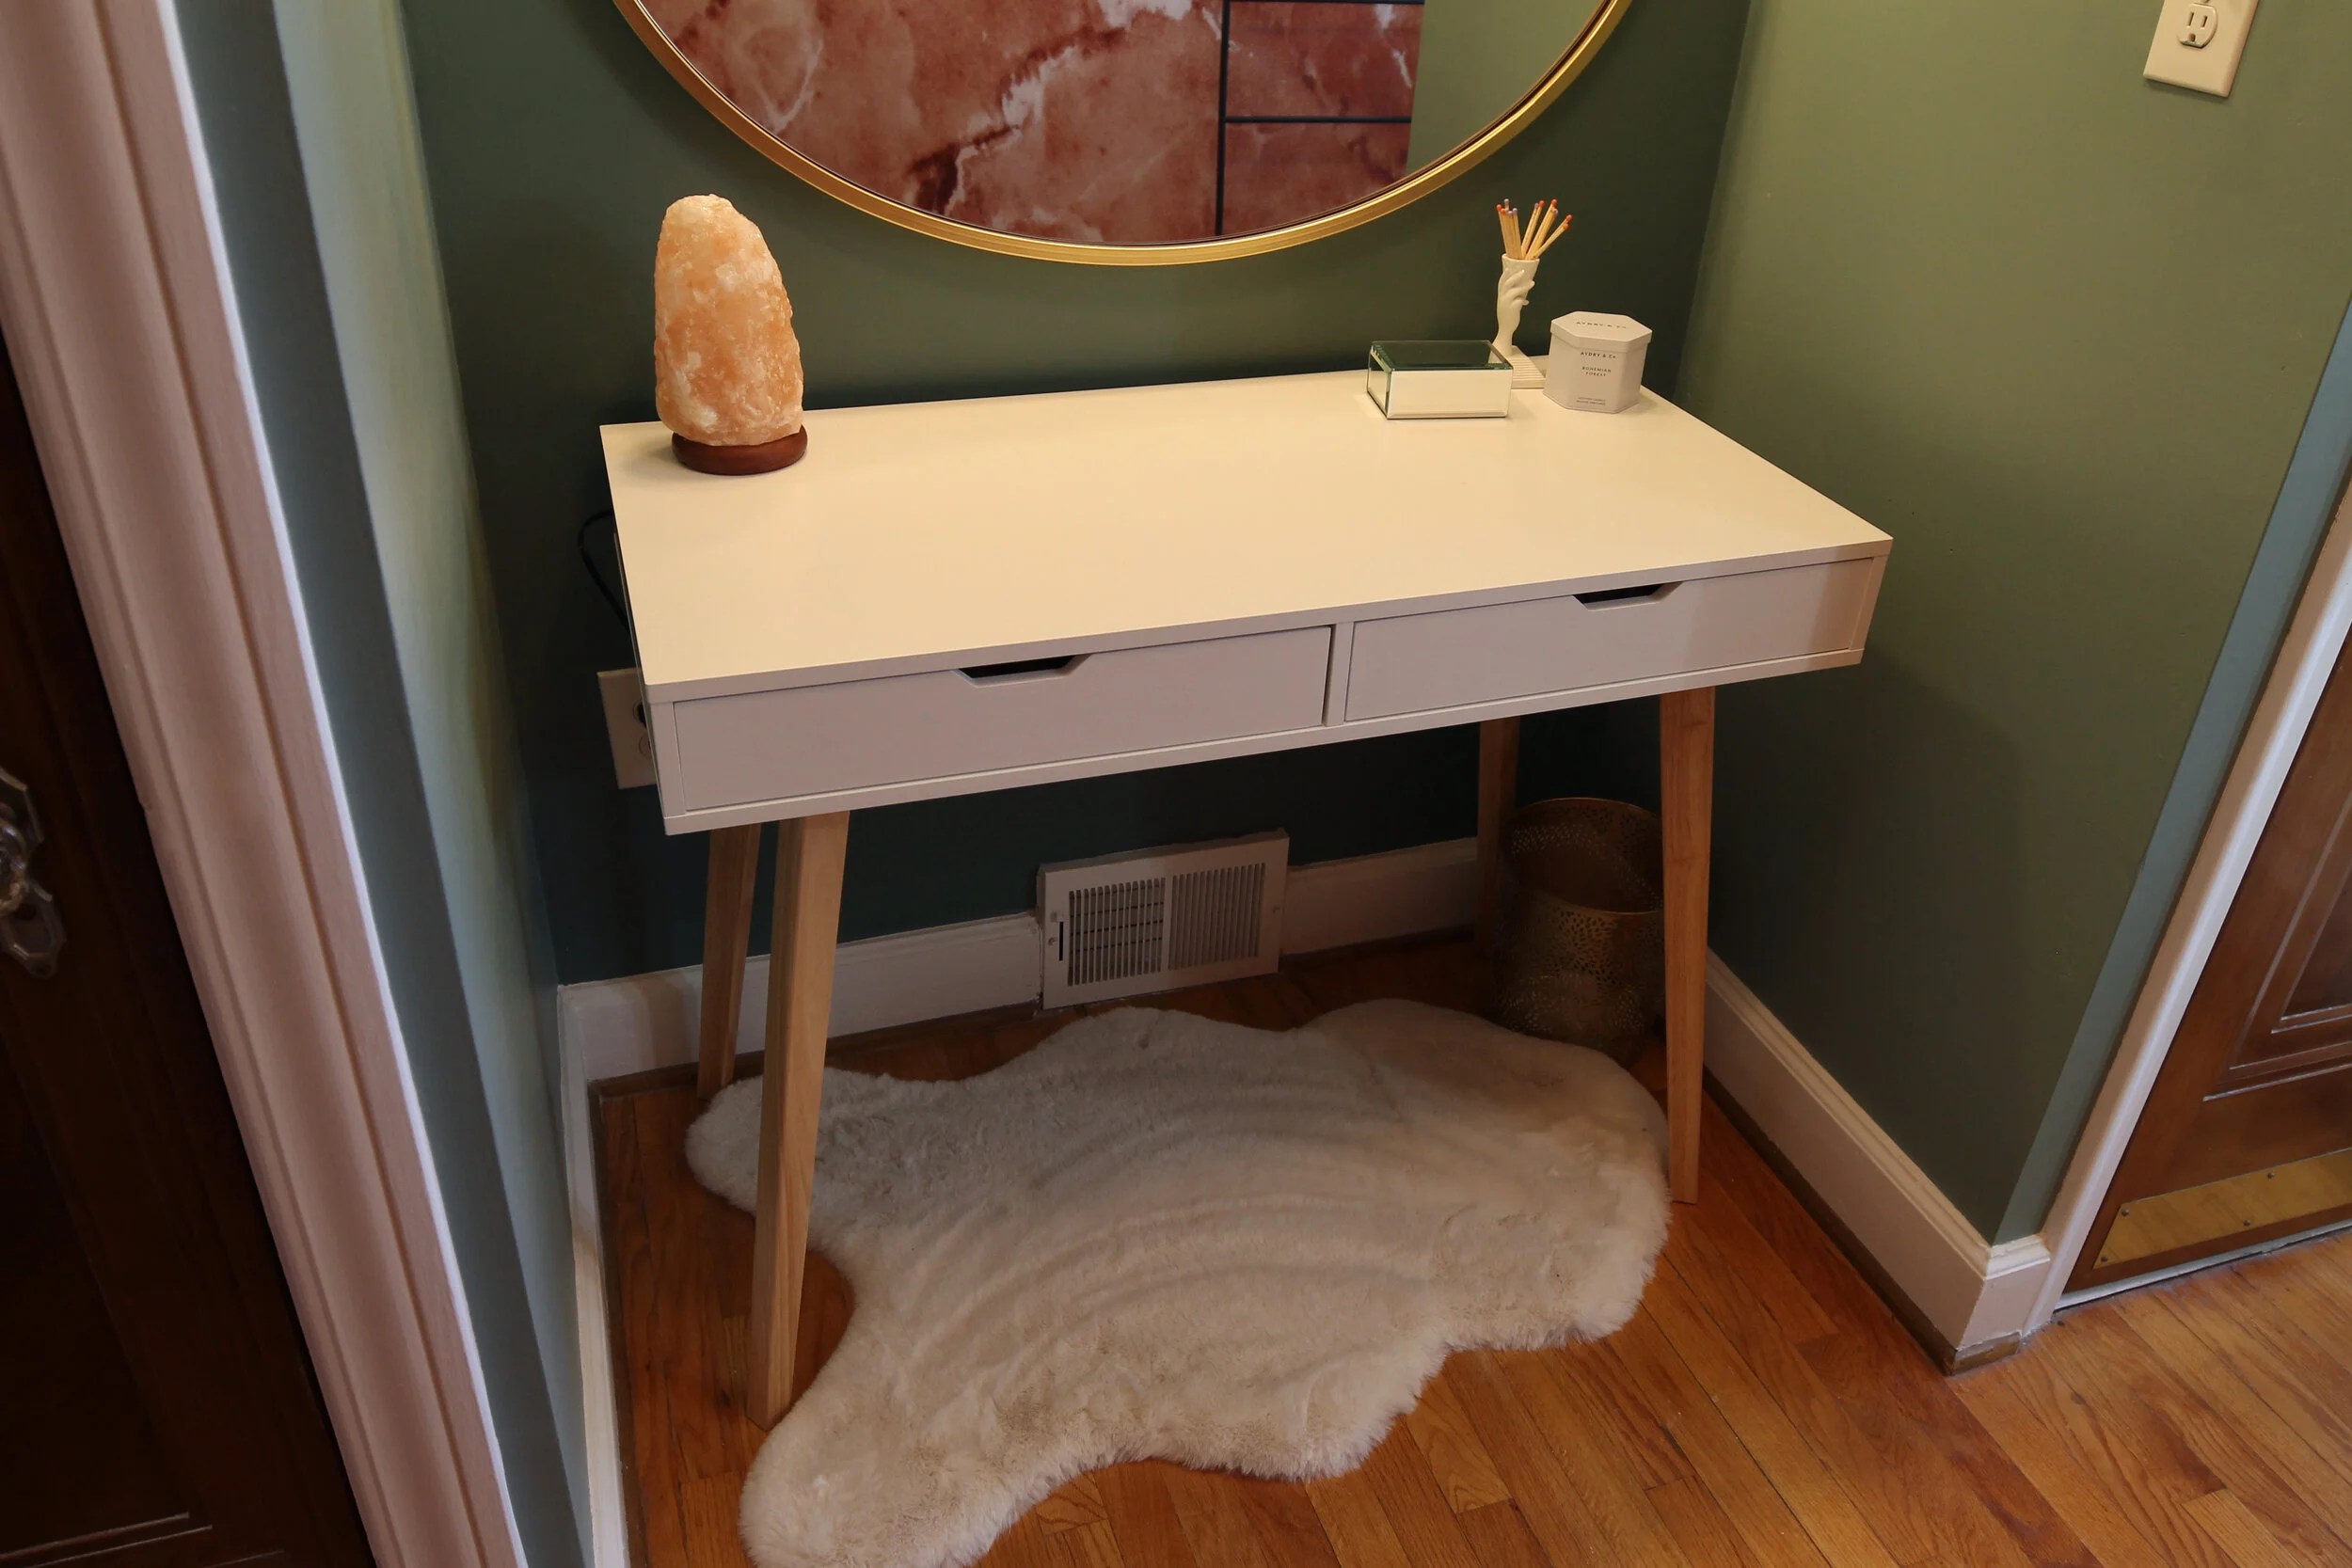
Since I don’t want to go too “extra,” my plan is to modernize the look just a little bit with mid-century modern furniture and accents. So, I’m creating my own modern glam style so suit my taste.

Modern Glam Inspiration Board
desk | oval mirror | velvet chair | 2-light sconce | match strike | wallpaper | deco shelving | rug | hook
The inspiration for my modern glam bathroom came from a few different places: color palette pins, my rubber plant, and some art pieces. I was certain I wanted to use terra cotta as the main color for this room, but I also loved the drama of a dark teal. For a while, I tried deciding between the two, but it wasn’t until I was watering my rubber plant that I realized the two are a perfect match! In fact, this color combo was prominent in the Art Deco era.

Modern glam Inspiration design board


The wall across from the vanity cutout will be wallpapered in a terra cotta colored marble mural (say that 5 times fast). I found an amazing pattern at MuralsWallpaper. They do custom prints based on wall dimensions, so you know it will be scaled properly. To me, the marble look will help keep things a little more modern.
The Big Reveal

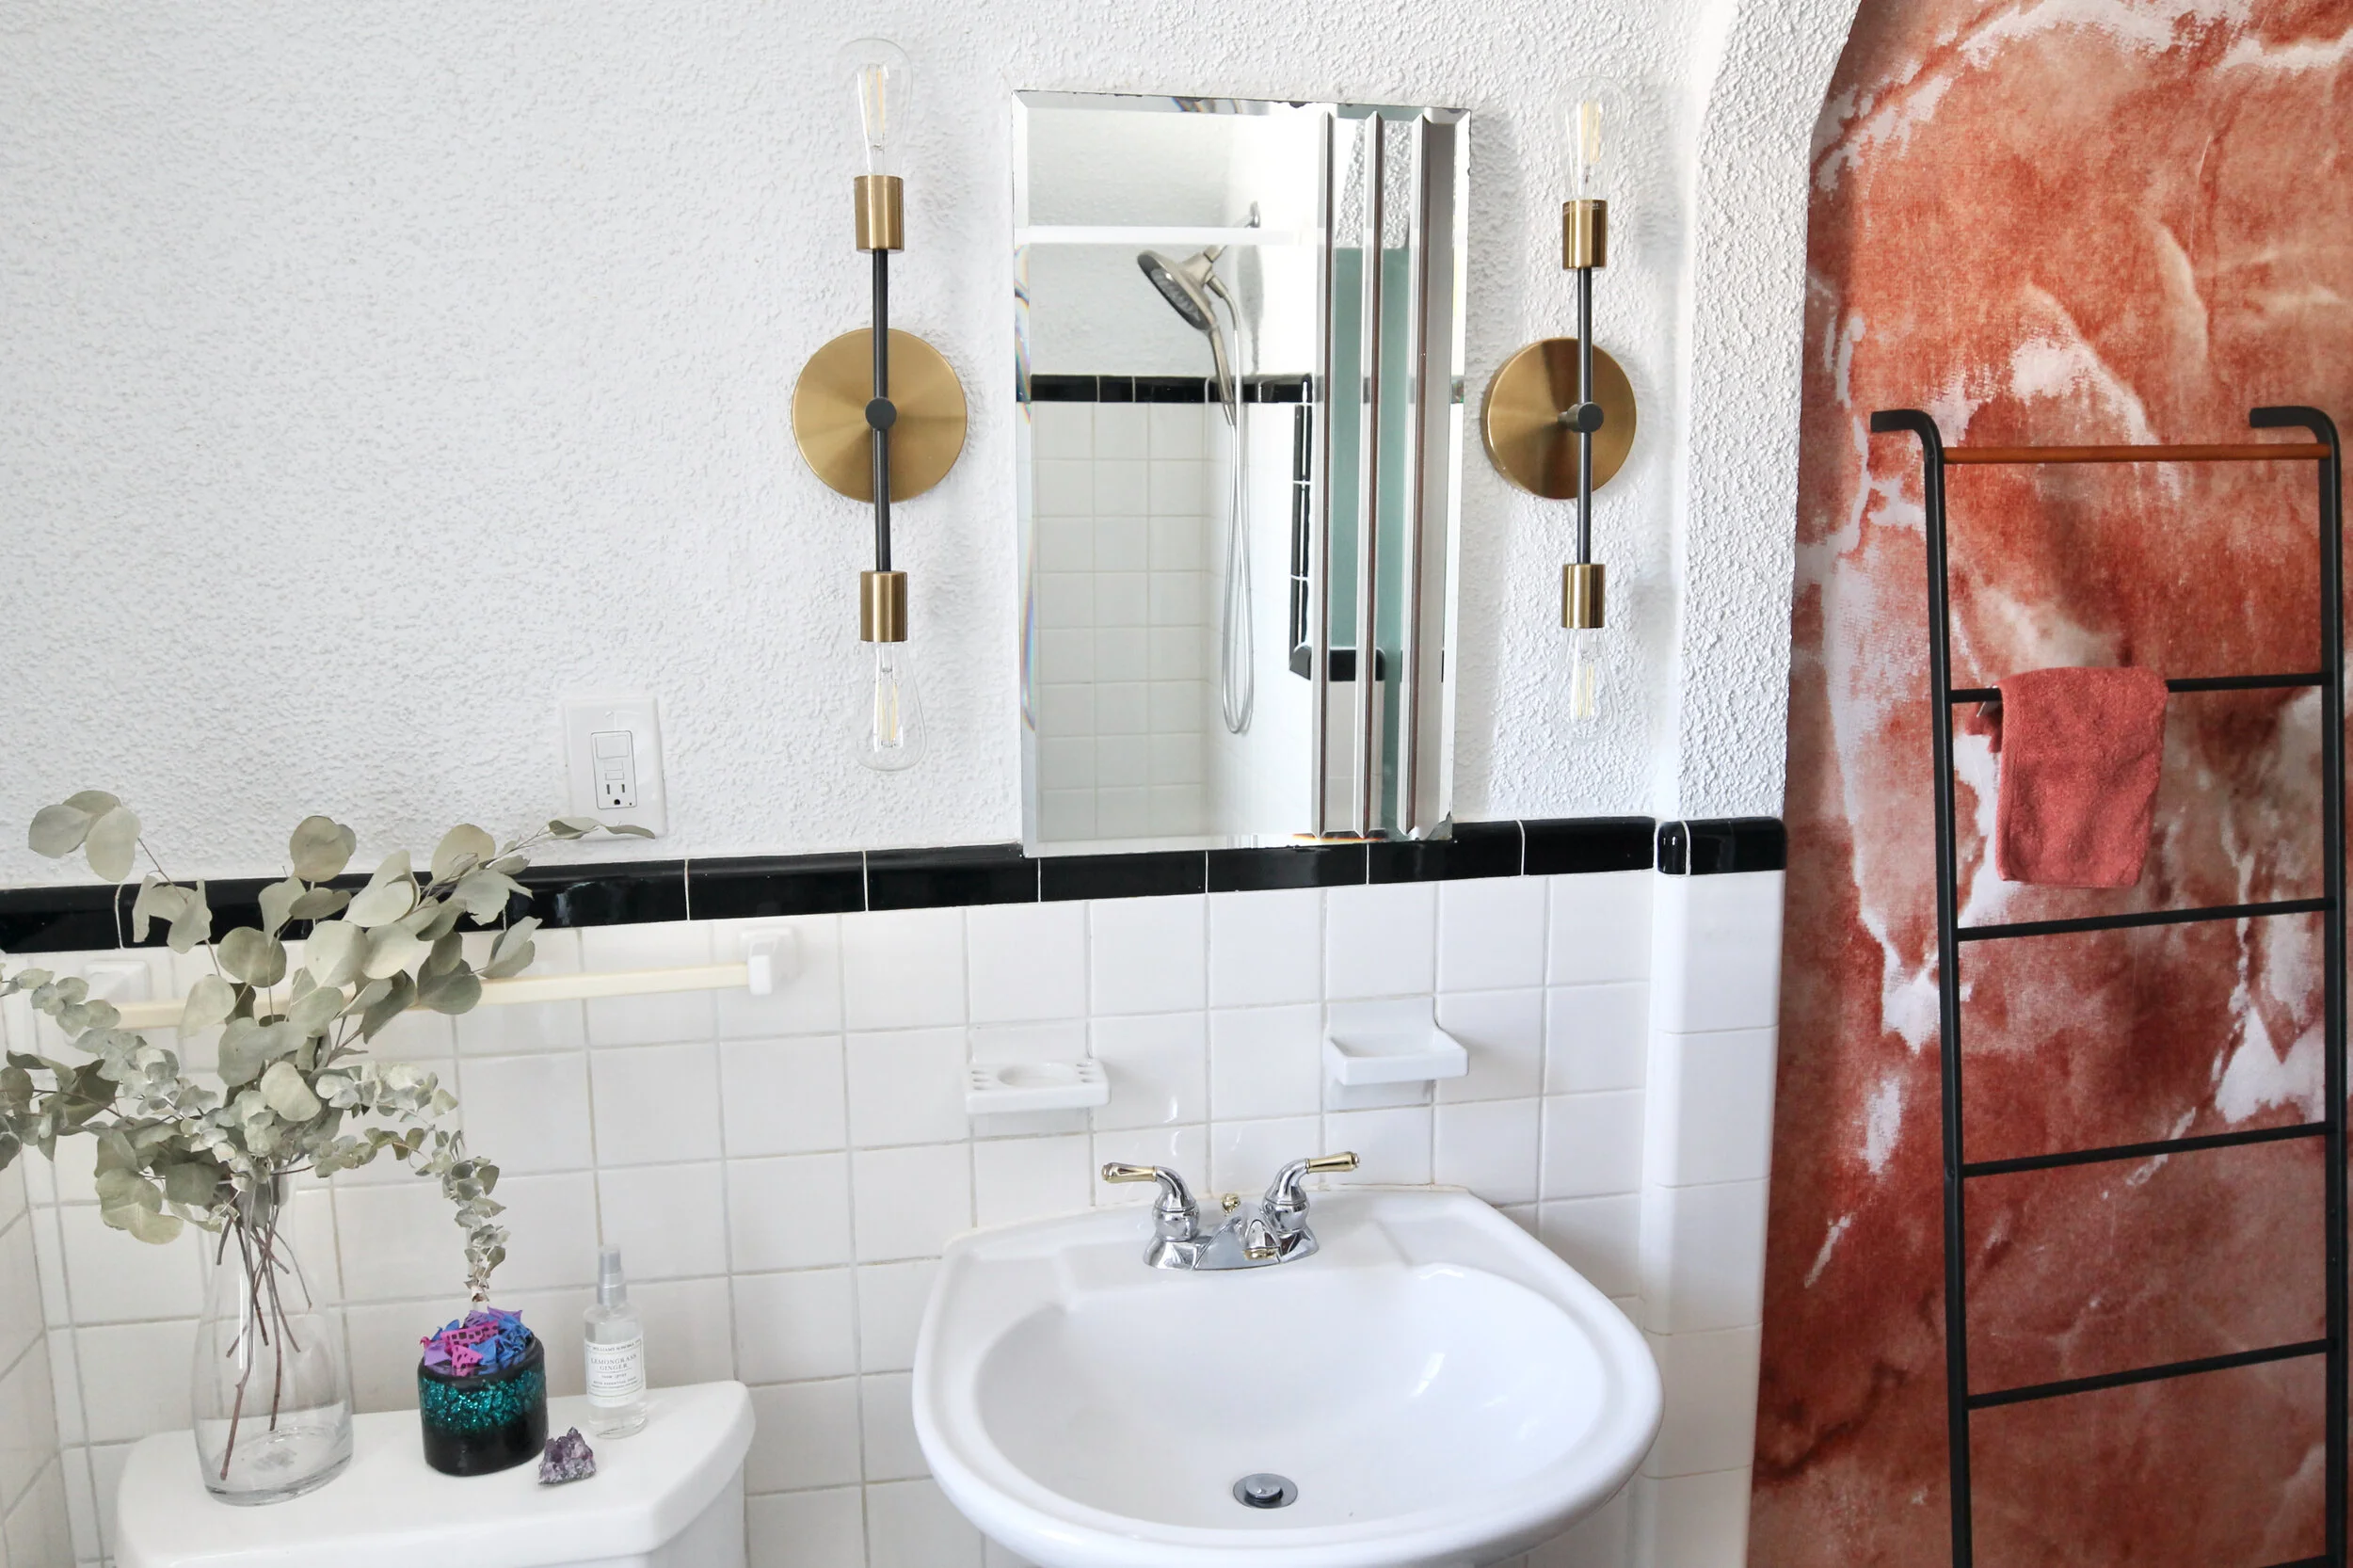
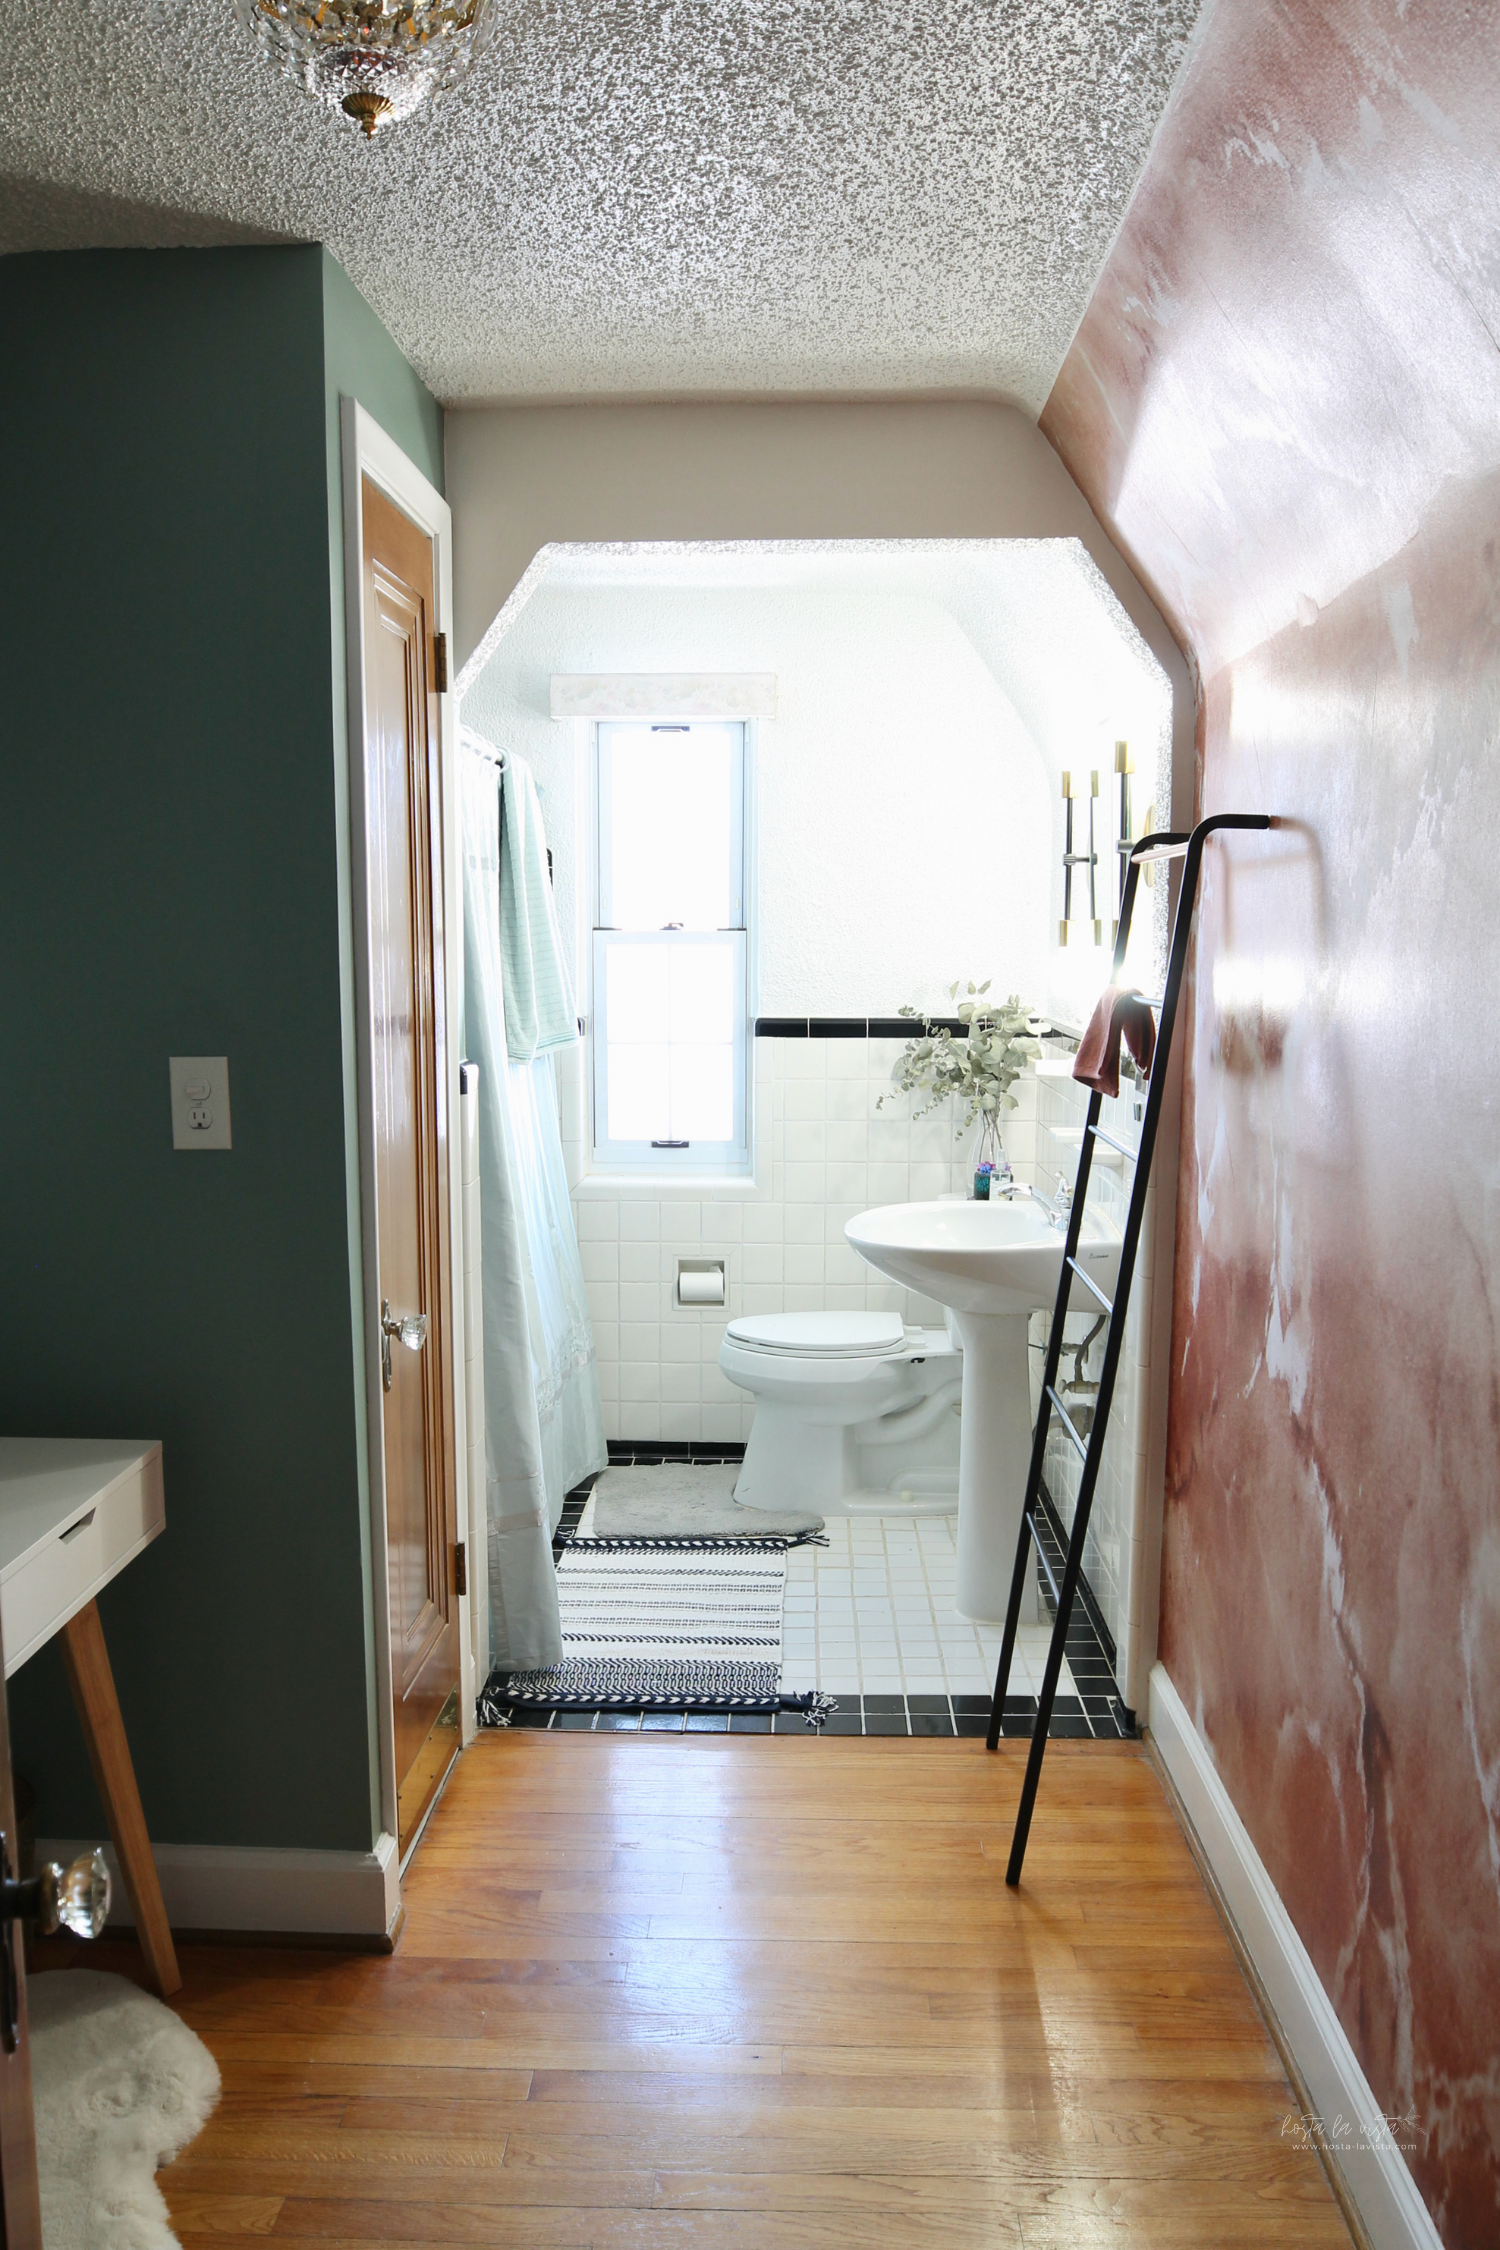
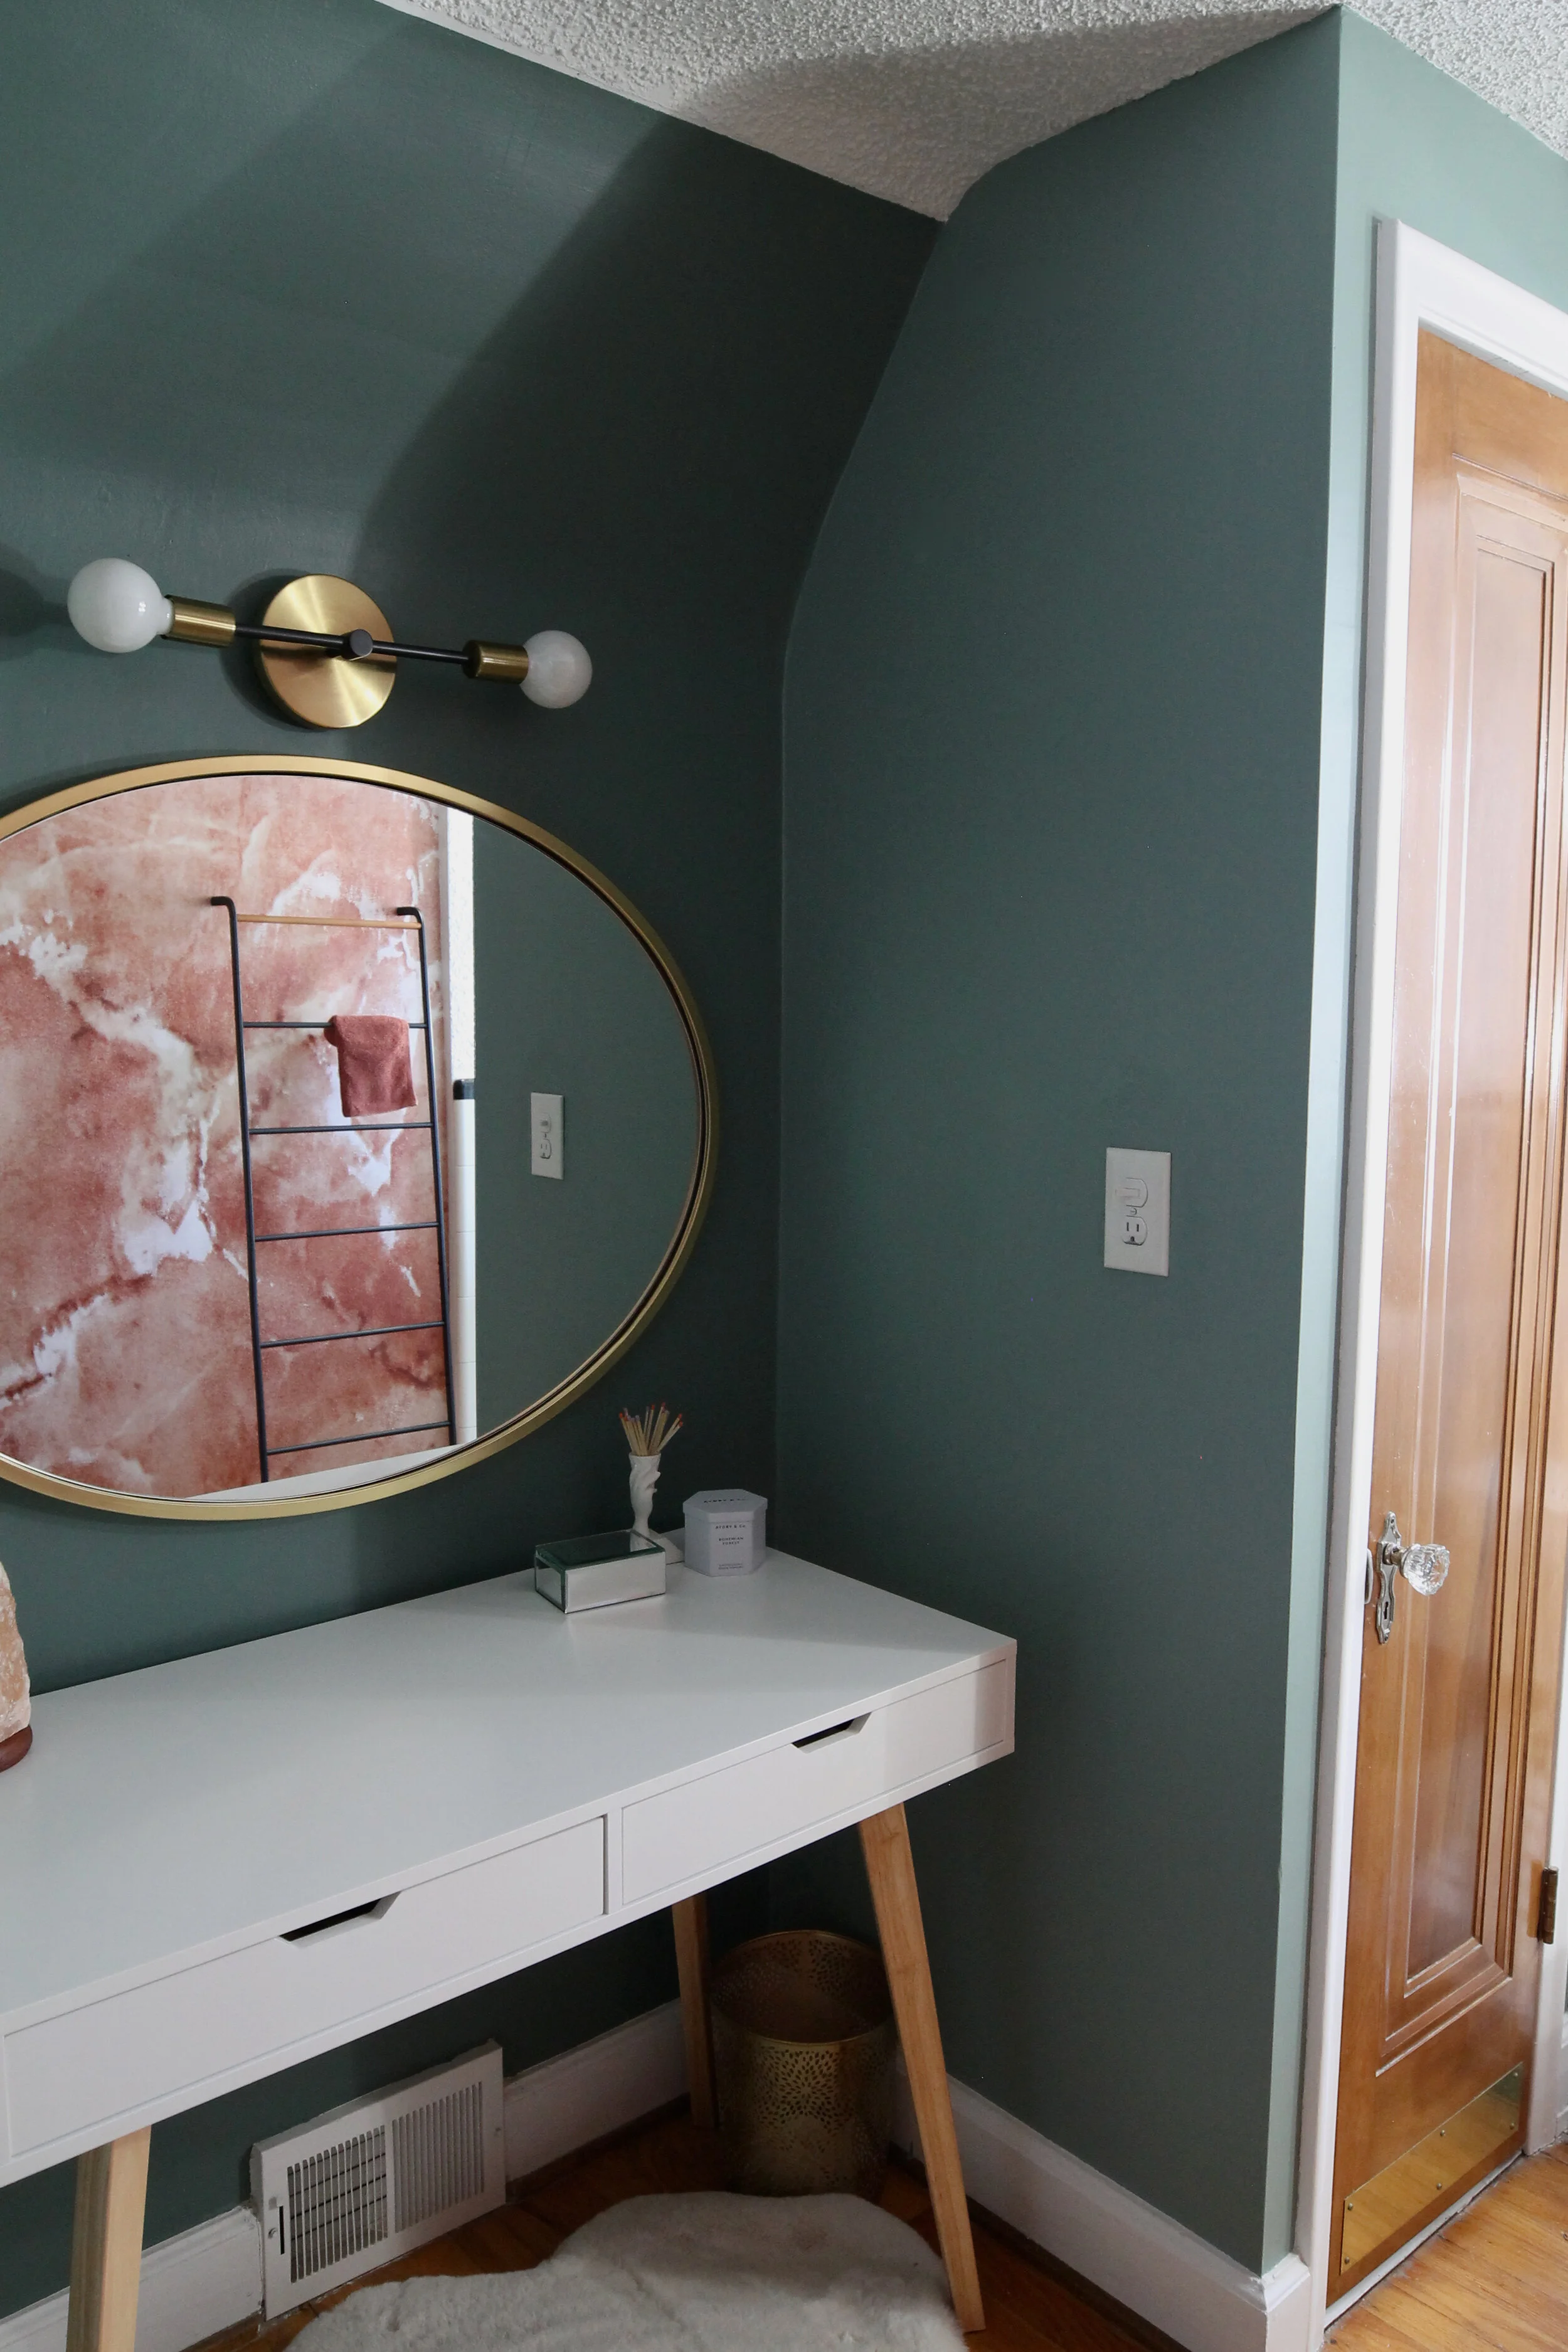

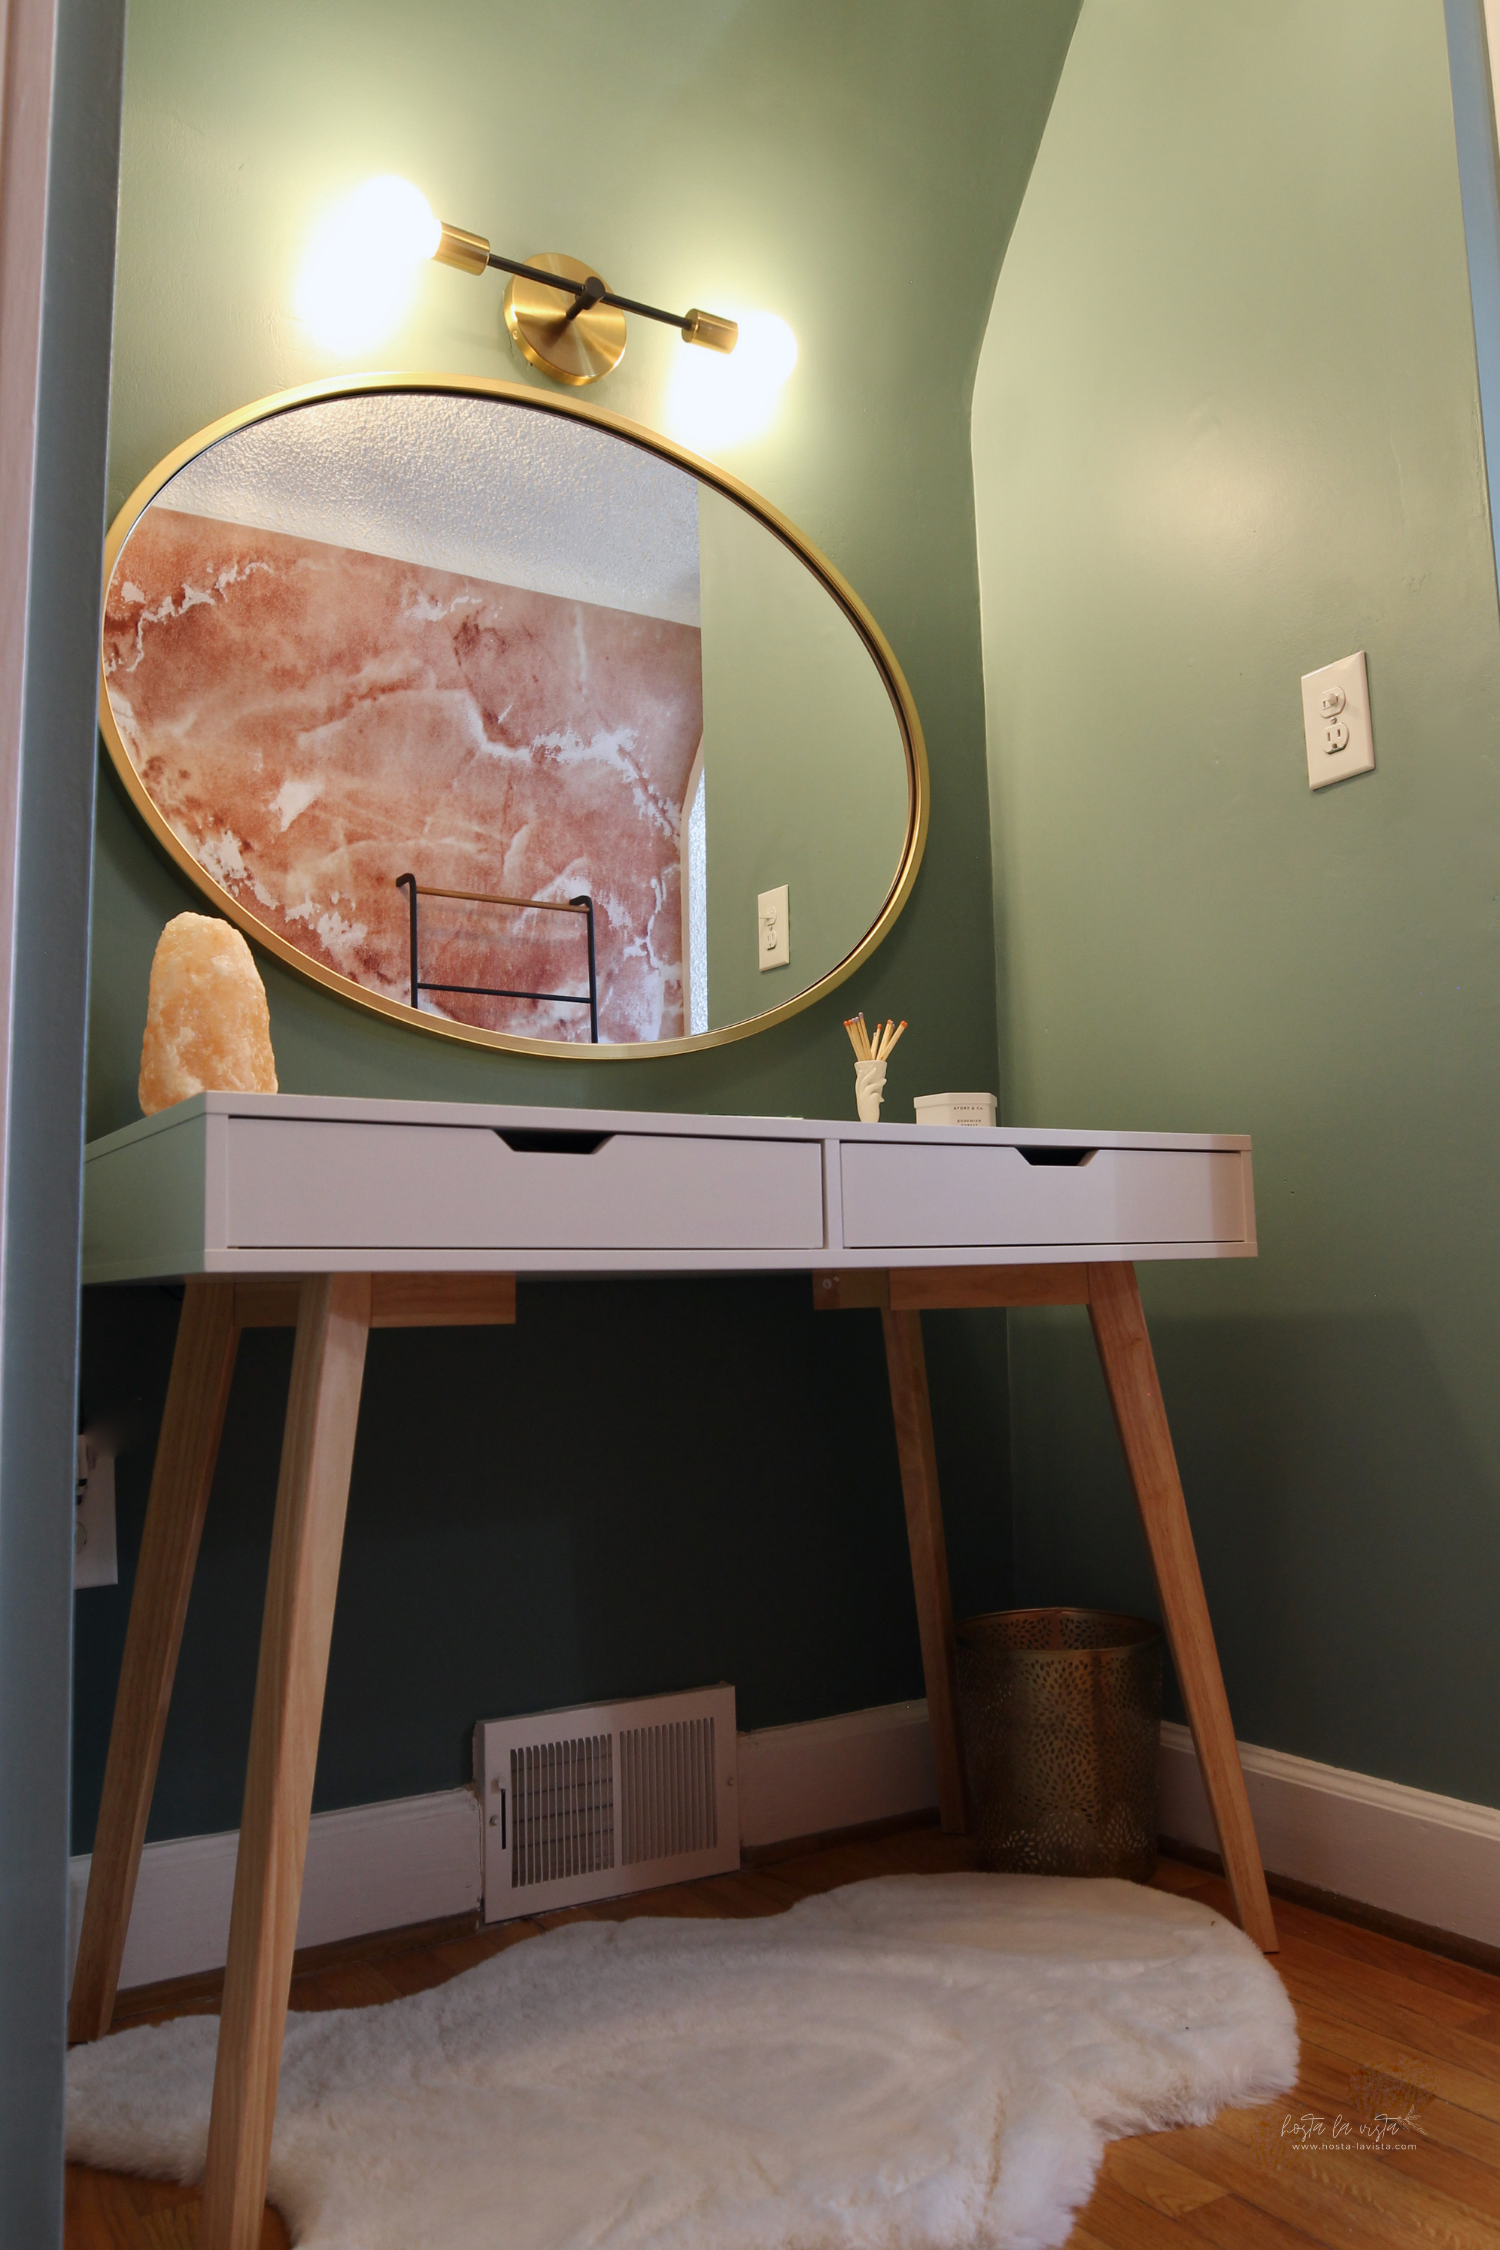
Since this room is quite long and narrow with only one tiny window at the far end, there is very little natural light that comes in. Despite the darkness, I purposefully chose a dark dramatic color to embrace the gloom and turn it glam. Paired with the right accent colors, and with the help of a mirror, you can brighten up a dark room and make it come to life.
There is a lot that still needs to be installed: new hardware, ceiling trim, a new shower curtain (mine is from college, yikes), and last but not least art! I’ll share an update when the finishing touches have been made.


The Journey
Step one: the dreaded wallpaper removal
Removing old wallpaper is always the least enjoyable task of any home design project. Afterall, who knows how many layers are underneath the surface of an older home. To remove my peeling pastel wallpaper, I used a power steamer. If you’re going to DIY, I highly recommend using one of these to help you get the wallpaper backing off. The backing is the sticky second layer after you peel the initial layer off of the wall. Backing typically needs to be scraped off, so steaming the backing first makes the scraping much easier.


Step two: Priming the walls
If you’re thinking of adding wallpaper to your home décor, avoid my mistake! I did not prime my wall before installing the wallpaper. I caulked, sanded, and washed the wall thinking that would be enough. Spoiler alert, it wasn’t. The wallpaper paste did not stick to the wall causing the panels to peel off and drip glue all over the floor. It was super frustrating, so make sure you always prime your wall before wallpapering!


Step three: Installing new wallpaper
Read my DIY post on wallpapering my bathroom